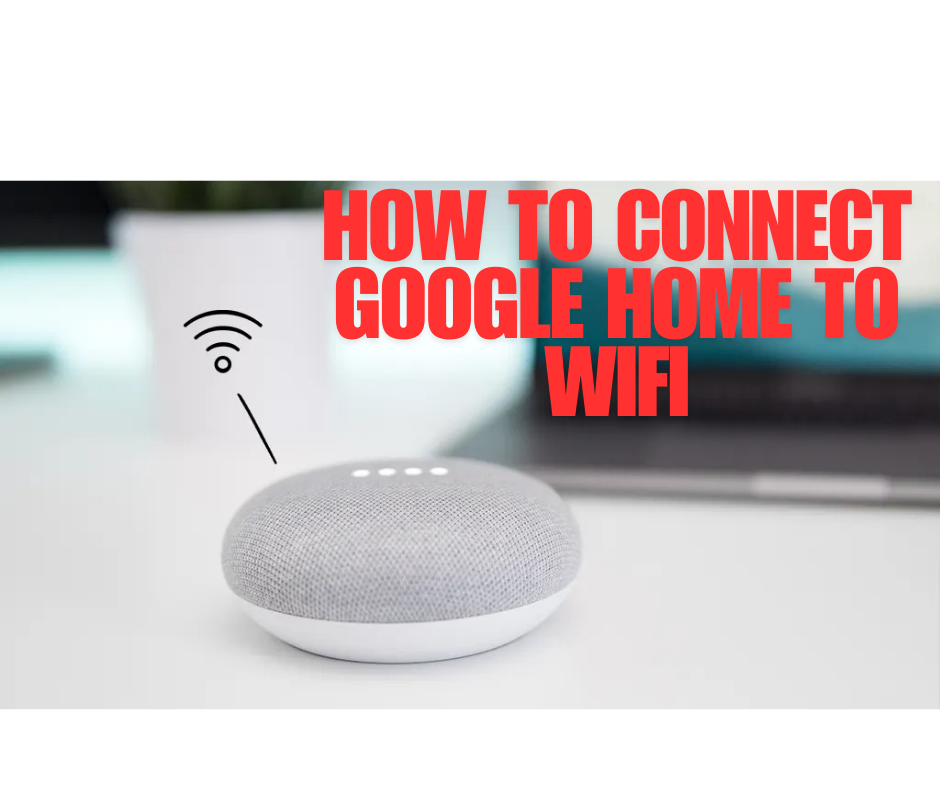
Google Home is a powerful smart device that serves as a virtual assistant, music hub, and control center for a variety of smart home devices. With Google Home, users can ask questions, check the weather, control lights, adjust thermostats, and even play music—all with simple voice commands. It’s designed to make life more convenient, providing hands-free control over tasks and information that once required a screen or manual input.
For Google Home to function properly, it relies heavily on a strong and consistent Wi-Fi connection. Wi-Fi serves as the gateway through which Google Home communicates with your phone, other smart devices, and the internet. A stable Wi-Fi network is essential because, without it, Google Home cannot process voice commands, access cloud services, or interact with other connected devices.
Connecting Google Home to Wi-Fi is usually straightforward, but this step is crucial for unlocking its full range of functions. A steady internet connection ensures that responses are delivered quickly, voice commands are accurately interpreted, and updates are consistently received to keep the device running smoothly.
Prerequisites for Connecting Google Home to Wi-Fi
Before setting up your Google Home device on Wi-Fi, it’s essential to have a few things prepared to make the process seamless and efficient. Here’s what you’ll need:
- Compatible Mobile Device
To connect Google Home to Wi-Fi, you’ll need a smartphone or tablet with either iOS or Android. Ensure that your device has the latest version of the Google Home app installed, as this app is the primary tool for setting up and managing your Google Home. The app guides you through the entire setup process, including connecting to Wi-Fi, naming your device, and adjusting preferences. - Active Wi-Fi Network Details
You’ll need the credentials for your home Wi-Fi network, specifically the network name (SSID) and password. It’s crucial that your Wi-Fi network is stable, as a weak or inconsistent connection could disrupt setup or cause problems with the device’s functionality later on. Google Home typically works best with a 2.4 GHz or 5 GHz Wi-Fi band, so ensure that your router supports one of these frequencies. - Google Home Device and Power Source
Finally, ensure that your Google Home device is plugged into a power source and located within a reasonable distance from your router. Keeping it close to the router during setup can help prevent any potential connectivity issues. Once setup is complete, you can position your Google Home anywhere within range of your Wi-Fi network for optimal performance.
Having these prerequisites ready will simplify the setup process and allow you to connect your Google Home to Wi-Fi smoothly, ensuring it’s ready to provide helpful responses, control smart home devices, and deliver a seamless user experience.
Step-by-Step Guide to Connect Google Home to Wi-Fi
Now that you have all the essentials ready, you’re set to connect your Google Home to Wi-Fi. Follow these straightforward steps to complete the process:
Step 1: Power on Your Google Home Device
Start by plugging your Google Home device into a power outlet. After a few moments, you’ll hear a chime, indicating that it’s powered on and ready to set up. Google Home’s LED lights will begin blinking, signaling that it’s in pairing mode and ready to be connected to the app.
Step 2:
With your Google Home powered on, open the Google Home app on your mobile device. Make sure Bluetooth is enabled, as the app uses it to detect nearby devices that are ready for setup. Once Bluetooth is on, the app will automatically start searching for any Google Home devices nearby.
Step 3: Follow the In-App Instructions to Connect to Wi-Fi
When the app detects your Google Home, it will prompt you to begin setup. Tap on your Google Home device from the list, and the app will begin guiding you through the steps. You may be asked to confirm that the Google Home displayed on the app matches your actual device. If the device chimes, it’s the correct one, and you can confirm to proceed.
Step 4: Select the Desired Wi-Fi Network and Enter the Password
Select the network you want your Google Home to connect to from the list provided. Type it in carefully to ensure there are no typos, as incorrect credentials will prevent your Google Home from connecting. Once entered, tap “Connect” to continue.
Step 5: Complete Setup and Verify Connection
After entering your Wi-Fi details, the app will complete the setup process. When the setup is successful, you’ll see a confirmation message in the app. You can now test the connection by giving Google Home a simple voice command, such as “Hey Google, what’s the weather today?” If Google Home responds, it means your device is connected and ready to use.
This step-by-step guide will ensure that your Google Home is properly connected to Wi-Fi, allowing you to enjoy all its features. With Wi-Fi set up, your Google Home can seamlessly respond to queries, control smart devices, and stay up to date with the latest functionality.
Troubleshooting Connection Issues
Even with a straightforward setup, there may be occasional issues when trying to connect your Google Home to Wi-Fi. Understanding common problems and their solutions can save time and get your device running smoothly. Here’s a look at some frequent connection issues and how to resolve them:
Common Problems
- Poor Signal Strength: If your Google Home is too far from the router, it may struggle to maintain a stable Wi-Fi connection. Walls, floors, and other obstacles can further weaken the signal, resulting in connection drops or slower response times.
- Incorrect Wi-Fi Password: Sometimes, a simple error in typing the Wi-Fi password can prevent Google Home from connecting. Even one incorrect character can result in a failed connection attempt.
- Incompatible or Restricted Network: Google Home works best on standard home networks, specifically 2.4 GHz or 5 GHz bands. It may not function correctly on public, guest, or enterprise networks that have additional security restrictions or require multiple logins.
Solutions
- Move Closer to the Router: To strengthen the connection, try moving your Google Home device closer to your Wi-Fi router, especially during the initial setup. This will help Google Home establish a strong, reliable connection. Once setup is complete, you can test how far you can place the device while maintaining a strong signal.
- Double-Check Network Credentials: Re-enter your Wi-Fi password to ensure it’s correct. It’s easy to overlook small errors, and carefully verifying each character can resolve many setup issues.
- Restart Google Home and Your Router: Restarting both your Google Home and router can clear out any temporary issues and re-establish the connection. To restart Google Home, unplug it for about 10 seconds, then plug it back in. For the router, follow the same process. This step often helps with temporary connectivity or signal issues.
These troubleshooting steps can help you resolve most connection problems and ensure that your Google Home is running smoothly. A stable Wi-Fi connection allows your Google Home to perform at its best, so addressing these issues early can make a big difference in overall functionality and response times.
How to Change Wi-Fi Network on Google Home
If you change your Wi-Fi network or move to a new location, you’ll need to update the Wi-Fi settings on your Google Home device to reconnect it to the internet. Switching Wi-Fi networks on Google Home is simple, though it requires you to remove the current network settings and set up the device on the new network. Here’s a step-by-step guide:
Steps to Switch Google Home to a New Wi-Fi Network
- Open the Google Home App: On your smartphone or tablet, open the Google Home app. Ensure that you’re connected to the new Wi-Fi network you intend to use, as this will make it easier for the app to detect and connect the device.
- Select Your Google Home Device: Tap on the Google Home device you want to reconnect to a new network. This will open the device’s settings.
- Navigate to Wi-Fi Settings: Tap on the gear icon (settings) in the top right corner to access the device settings. Scroll down and select “Wi-Fi,” then choose “Forget This Network.” This will remove the old network information from your Google Home.
- Reconnect to a New Wi-Fi Network: Go back to the main screen of the Google Home app, and you should see a notification that your device needs setup. Tap on it to restart the setup process and connect to the new Wi-Fi network. Follow the prompts to select your new Wi-Fi network and enter the network password.
- Complete the Setup: Once connected to the new network, confirm the setup by giving a quick voice command to ensure Google Home responds and is fully connected.
Tips for Reconfiguring Settings When Moving Locations or Networks
- Ensure a Strong Signal in the New Location: Position your Google Home within a close range of the router, especially during the setup process. If you’re in a new home or location, consider where the device will receive the best Wi-Fi coverage.
- Update Linked Accounts and Services if Needed: If you’re setting up Google Home in a different location, you may need to adjust some settings based on the new environment. For example, if your home address has changed, updating this in the app will ensure Google Home provides accurate location-based information, such as weather or commute times.
Switching your Google Home to a new Wi-Fi network is quick and allows you to maintain seamless connectivity, whether you’re at home or on the move. With the new settings in place, Google Home can continue offering you hands-free assistance, responding to commands, and controlling compatible devices around your home.
Advanced Tips for Optimal Wi-Fi Performance
For Google Home to work at its best, it needs a reliable and strong Wi-Fi connection. Here are some advanced tips to optimize your Wi-Fi network, enhancing the performance of your Google Home and other connected devices.
1. Boost Wi-Fi Signal Strength
- Use a Wi-Fi Extender or Mesh Network: If your Google Home is located far from your router, a Wi-Fi extender or mesh network system can help expand the reach of your Wi-Fi signal. A mesh network, in particular, creates multiple points of connection throughout your home, offering seamless coverage across larger areas and eliminating dead zones.
- Position the Router Strategically: For optimal coverage, place your router in a central location, away from walls or large metal objects that could obstruct the signal. Elevating the router off the floor and away from other electronics can help distribute the signal more effectively.
- Switch to a Less Crowded Channel: Most routers operate on 2.4 GHz and 5 GHz bands, which are often shared with other devices, including neighboring networks. Switching your router’s channel to a less crowded one can reduce interference and improve your network’s performance. Some routers can automatically select the best channel, or you can adjust this manually in your router’s settings.
2. Avoid Network Interference
- Reduce Interference from Other Devices: Devices like microwaves, cordless phones, and baby monitors can interfere with Wi-Fi signals, especially on the 2.4 GHz band. Keep your Google Home and router away from these types of devices to avoid disruption. If possible, connect high-bandwidth devices to the 5 GHz network to minimize congestion on the 2.4 GHz band.
- Minimize Physical Barriers: Thick walls, mirrors, and even water (such as fish tanks) can weaken Wi-Fi signals. Avoid placing your router near such obstacles to maintain a stronger connection for your Google Home and other devices.
3. Secure Your Wi-Fi Network
- Use Strong Passwords: Securing your network with a strong password prevents unauthorized access, which can slow down your Wi-Fi performance and compromise security. For the best security, use WPA3 encryption if your router supports it; otherwise, WPA2 is the next best option.
- Limit the Number of Connected Devices: Overloading your Wi-Fi network with too many connected devices can strain bandwidth and reduce performance. If possible, limit the number of active connections, especially on the same band as your Google Home.
Optimizing your Wi-Fi network with these tips can enhance Google Home’s response time, stability, and overall functionality. By reducing interference, boosting signal strength, and securing your network, you’ll ensure that Google Home performs smoothly, delivering consistent voice responses and reliable smart home control.
Read more: How to setup ap mode on arris router
Conclusion
Connecting Google Home to Wi-Fi unlocks its full potential, allowing you to enjoy seamless hands-free assistance, smart home control, and information at your fingertips. By following the setup instructions and ensuring a strong, stable Wi-Fi connection, you can experience everything Google Home has to offer with minimal interruptions. Troubleshooting common issues and optimizing your network can further enhance performance, so Google Home consistently responds accurately and promptly to your requests.
Whether you’re setting up for the first time, switching networks, or aiming to boost Wi-Fi strength, these steps and tips will help you get the most out of your Google Home. With a reliable connection, you’re well-equipped to enjoy a smarter, more connected living space with Google Home at the center, ready to assist whenever you need it.


