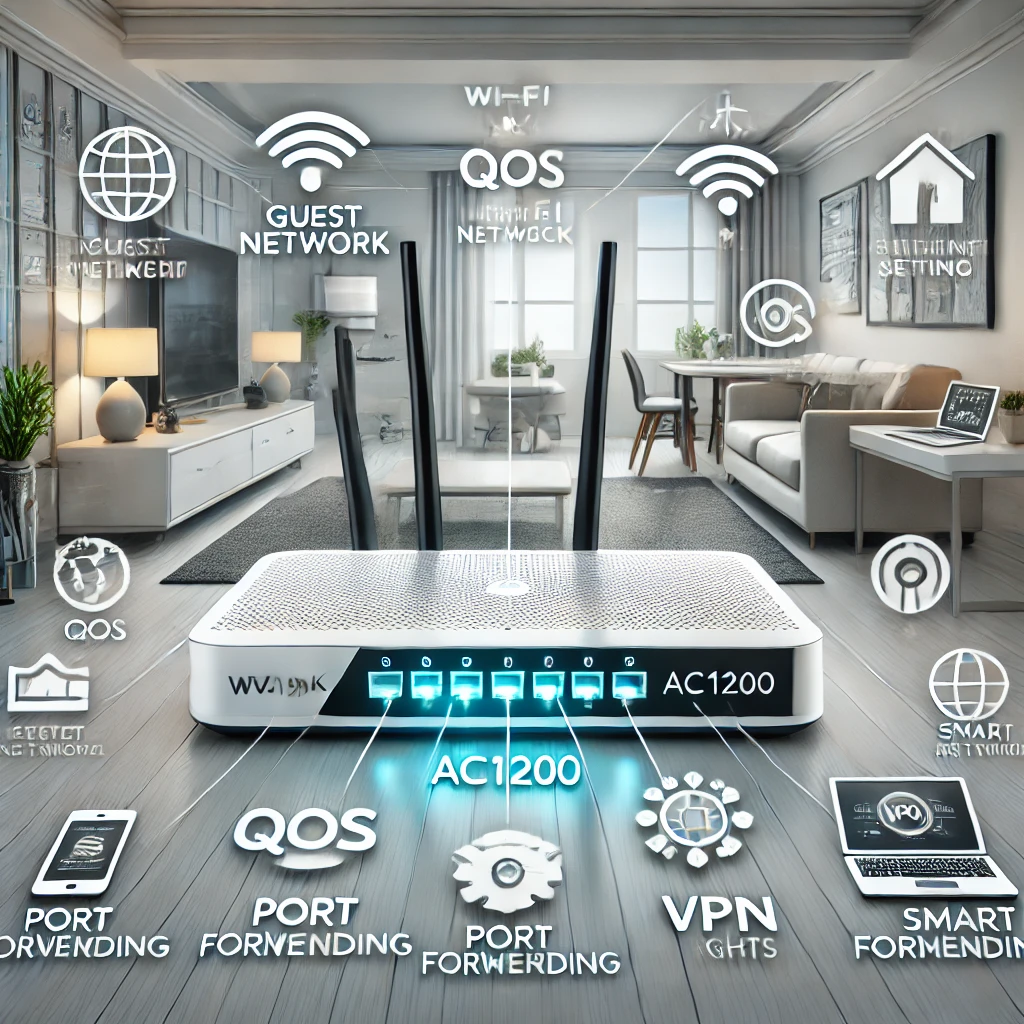
The Wavlink AC1200 router is a powerful yet user-friendly device designed to meet the demands of modern households and small offices. With its dual-band functionality, it ensures smooth and reliable internet connectivity, catering to a variety of online activities such as streaming, gaming, and remote work. Supporting speeds of up to 1200 Mbps, the router strikes a balance between performance and affordability, making it a popular choice for both casual and tech-savvy users.
What sets the Wavlink AC1200 apart is its suite of advanced features designed to elevate the user experience. These features, ranging from a dedicated guest network to smart home integration, offer greater control, enhanced security, and improved efficiency. Whether you’re managing multiple devices or ensuring privacy for connected users, the AC1200 equips you with the tools needed to optimize your network.
This article aims to explore the advanced functionalities of the Wavlink AC1200 in detail. By the end of this guide, you’ll understand how to configure and make the most of features like the guest network, QoS settings, port forwarding, VPN compatibility, and smart home integration. Each section will provide actionable insights, empowering you to unlock the full potential of your router and create a seamless online environment tailored to your needs.
Setting Up and Using the Guest Network on the Wavlink AC1200
One of the standout features of the Wavlink AC1200 is its ability to create a guest network, a separate wireless network designed for temporary users. This feature is incredibly useful for households or offices that frequently host guests or clients, as it provides a secure and convenient way to share your internet connection without exposing your primary network.
Benefits of Enabling a Guest Network
A guest network serves several purposes:
- Enhanced Security: It isolates guest devices from your main network, preventing unauthorized access to sensitive files or devices.
- Convenience: Guests can connect to the internet without needing access to your primary Wi-Fi credentials.
- Bandwidth Management: Keeping guests on a separate network allows you to monitor and limit their usage if needed, ensuring your main network remains unaffected.
- Improved Network Organization: Separating guest traffic can help maintain consistent performance on your primary network, especially if guests frequently engage in bandwidth-intensive activities.
Step-by-Step Guide to Setting Up a Guest Network
Setting up a guest network on the Wavlink AC1200 is straightforward:
- Log in to the Router’s Interface:
- Open a web browser and enter the router’s IP address (commonly 192.168.10.1) in the address bar.
- Enter your admin username and password.
- Navigate to the Wireless Settings:
- Locate the “Wireless” or “Guest Network” section in the router’s menu.
- Enable the Guest Network:
- Check the box or toggle the option to enable the guest network for the 2.4 GHz and/or 5 GHz bands.
- Set the SSID (Network Name):
- Choose a name for the guest network that is distinct from your primary network for easy identification.
- Configure Security Settings:
- Select a security protocol (e.g., WPA3 or WPA2) and set a strong, unique password. Avoid leaving the guest network open to ensure unauthorized users don’t gain access.
- Save and Apply Changes:
- Click “Save” or “Apply” to finalize your settings.
Once configured, guests can connect to the new network without interfering with the devices on your main network.
Security Tips for Managing Guest Access
To ensure your guest network remains secure and performs optimally, follow these tips:
- Limit Bandwidth: Use QoS (Quality of Service) settings to cap the bandwidth available to the guest network, preventing it from overwhelming your primary network.
- Disable Guest Access to the Router Interface: Ensure guests cannot access the router’s settings by disabling admin access from the guest network.
- Monitor and Update Credentials: Periodically change the guest network password to prevent unauthorized long-term access.
- Enable Time Limits: If your router supports it, consider setting time restrictions for guest network access to further control usage.
By enabling and properly managing the guest network on the Wavlink AC1200, you can ensure a secure and hassle-free experience for your visitors while maintaining the integrity and performance of your main network. This feature is a simple yet effective way to keep your network organized and protected.
Optimizing Performance with QoS Settings on the Wavlink AC1200
In today’s connected world, ensuring that all your devices receive the appropriate bandwidth is essential for maintaining smooth network performance. This is where the Quality of Service (QoS) feature on the Wavlink AC1200 comes into play. QoS helps prioritize traffic for specific devices or activities, ensuring critical applications run seamlessly, even during periods of high network demand.
What is QoS (Quality of Service), and Why Does It Matter?
Quality of Service (QoS) is a network feature that allows users to prioritize certain types of internet traffic over others. By controlling the allocation of bandwidth, QoS ensures that essential tasks like video calls, gaming, and streaming are not disrupted by less critical activities like file downloads or background updates.
The benefits of QoS include:
- Minimized Lag: Prioritizing real-time applications such as online gaming or VoIP calls ensures smoother performance.
- Optimized Streaming: Ensures HD and 4K streaming experiences remain buffer-free, even if multiple users are online.
- Improved Multi-Device Performance: Prevents any single device or activity from consuming excessive bandwidth, maintaining balance across the network.
How to Configure QoS Settings on the Wavlink AC1200
Setting up QoS on the Wavlink AC1200 is straightforward:
- Log in to the Router Interface:
- Open a browser and enter the Wavlink router’s IP address (e.g., 192.168.10.1).
- Log in using your admin credentials.
- Access the QoS Section:
- Navigate to the “Advanced Settings” or “QoS” tab in the dashboard menu.
- Enable QoS:
- Toggle the QoS feature to “On.”
- Set Prioritization Rules:
- You may see options to prioritize by device, application, or service type.
- Assign higher priority to specific devices (e.g., your work laptop or gaming console) or applications (e.g., Zoom, Netflix).
- Allocate Bandwidth:
- Some routers allow you to set bandwidth limits for each device or activity. Adjust these based on your needs to ensure critical tasks receive adequate bandwidth.
- Save and Apply Changes:
- Once the rules are configured, save your settings. The router will apply these prioritization rules to your network.
Examples of Scenarios Where QoS Settings Enhance Network Performance
QoS can make a noticeable difference in various real-life situations:
- Remote Work and Video Conferencing: By prioritizing applications like Zoom, Microsoft Teams, or Skype, you can avoid interruptions during critical meetings or calls.
- Online Gaming: Gamers benefit from reduced latency and lag when gaming traffic is prioritized over less time-sensitive activities.
- Streaming 4K Content: QoS ensures that your streaming services, such as Netflix or YouTube, deliver high-quality video without buffering, even if other users are browsing the internet.
- Large File Transfers in the Background: Prevent large downloads or backups from hogging bandwidth, allowing other devices to function smoothly.
By enabling and configuring QoS on your Wavlink AC1200, you can take full control of your network’s performance. Whether you’re working, gaming, or streaming, QoS ensures that the most important tasks get the bandwidth they need, creating a seamless and frustration-free online experience.
Enabling Port Forwarding on the Wavlink AC1200
Port forwarding is a powerful feature on the Wavlink AC1200 router that allows external devices to access services on your local network securely and efficiently. Whether you’re hosting a gaming server, accessing a home security system remotely, or running a personal web server, port forwarding ensures a seamless connection between external requests and your internal devices.
What is Port Forwarding and Its Use Cases?
Port forwarding is a network configuration that directs incoming traffic from specific ports on your router to designated devices within your local network. It acts as a gateway, ensuring external devices can reach the correct internal services without exposing your entire network.
Common use cases include:
- Gaming: Allowing multiplayer games or servers like Minecraft to communicate with other players over the internet.
- Remote Access: Connecting to a home security camera, file server, or media server while away from home.
- Web Hosting: Hosting a website or service from a local computer accessible from the internet.
- File Sharing: Enabling peer-to-peer applications like BitTorrent for efficient file downloads.
How to Set Up Port Forwarding on the Wavlink AC1200
Follow these steps to configure port forwarding on your AC1200:
- Access the Router Interface:
- Open a browser and enter the router’s IP address (e.g., 192.168.10.1) in the address bar.
- Log in using your administrator credentials.
- Navigate to the Port Forwarding Section:
- Locate the “Port Forwarding” option, typically found under “Advanced Settings” or a similar tab.
- Create a Port Forwarding Rule:
- Service Name: Assign a name to the rule (e.g., “Game Server” or “Camera Access”).
- Internal IP Address: Enter the local IP address of the device you want to forward traffic to (e.g., the IP of your gaming PC or camera).
- Protocol: Specify the protocol to use, such as TCP, UDP, or both.
- External Port: Define the port number or range that external devices will use to connect.
- Internal Port: Match this with the service’s port on the device or leave it the same as the external port.
- Save and Apply the Rule:
- Once all fields are completed, click “Save” or “Apply” to activate the rule.
- Test the Configuration:
- Use an online port-checking tool or attempt to connect to the service externally to ensure the port is open and working correctly.
Troubleshooting Common Port-Forwarding Issues
If port forwarding doesn’t work as expected, consider these troubleshooting steps:
- Verify the Internal IP Address: Ensure the device’s local IP address matches what you entered in the port forwarding rule. Assign a static IP to the device to avoid address changes.
- Check for Double NAT: If your router is connected to another modem/router, a double NAT setup may block port forwarding. Configure the modem/router in bridge mode or add port forwarding rules to both devices.
- Disable Firewalls: Check if a firewall on the device or router is blocking the connection. Adjust firewall settings to allow traffic on the forwarded port.
- Ensure Correct Protocol: Verify that the correct protocol (TCP, UDP, or both) is selected in the rule.
- Restart the Router: Sometimes, a simple restart of the router can resolve configuration issues.
With port forwarding set up correctly, the Wavlink AC1200 ensures your devices can communicate efficiently and securely with external services. By understanding its use cases and configuring it effectively, you can unlock advanced networking capabilities tailored to your needs.
VPN Compatibility and Configuration on the Wavlink AC1200
As online privacy and security become increasingly important, Virtual Private Networks (VPNs) offer a robust solution to safeguard your internet activities. The Wavlink AC1200 router supports VPN functionality, enabling users to extend VPN benefits across their entire network for added security, anonymity, and remote access capabilities.
Importance of VPNs for Privacy and Security
A VPN encrypts your internet traffic and routes it through a secure server, masking your IP address and protecting your data from prying eyes. This is particularly valuable in scenarios such as:
- Privacy: Prevents ISPs, advertisers, or malicious entities from monitoring your online activities.
- Security: Protects sensitive data when using public Wi-Fi or unsecured networks.
- Access: Enables bypassing geographic restrictions on content, such as streaming services or websites.
- Remote Work: Facilitates secure access to workplace resources from home or while traveling.
VPN Compatibility with the Wavlink AC1200: What Users Should Know
The Wavlink AC1200 supports VPN pass-through, a feature that allows VPN traffic to travel securely through the router to devices using VPN clients. However, it is essential to understand the following:
- VPN Passthrough vs. Native VPN: While the AC1200 supports VPN passthrough for third-party clients, it does not offer built-in VPN server functionality. Users will need to configure VPN software on their devices or connect it to a VPN-compatible device, such as another router with VPN capabilities.
- Supported Protocols: The AC1200 supports common VPN protocols like PPTP and L2TP/IPSec, ensuring compatibility with most VPN services.
Steps to Configure a VPN on the Wavlink AC1200
While the AC1200 doesn’t natively host a VPN server, you can use its VPN passthrough feature to connect your devices to a VPN. Here’s how to set it up:
- Select a VPN Provider:
- Choose a reliable VPN service with support for your preferred protocol (e.g., PPTP or L2TP/IPSec).
- Obtain the VPN’s configuration details, including server address, protocol, and login credentials.
- Log in to the Router Interface:
- Open a browser and navigate to the router’s admin page (192.168.10.1).
- Enter your administrator credentials.
- Enable VPN Passthrough:
- Go to the “Advanced Settings” or “VPN” section.
- Locate the option for PPTP and L2TP passthrough. Ensure both are enabled.
- Configure Devices for VPN:
- Set up the VPN client on individual devices, such as laptops, smartphones, or smart TVs, using the provider’s configuration settings.
- Enter the server details, username, and password provided by your VPN service.
- Test the Connection:
- Activate the VPN client on a device.
- Verify that the connection is established and your IP address reflects the VPN server’s location.
- Optional: Advanced Configuration:
- If you need to extend VPN functionality across the entire network, consider connecting the Wavlink AC1200 to a primary VPN-enabled router. This setup ensures all connected devices benefit from the VPN.
Enhancing Security and Privacy with a VPN on the AC1200
Using a VPN in conjunction with the Wavlink AC1200 offers a significant boost to your network’s privacy and security. By enabling VPN passthrough, you can enjoy encrypted, secure connections across multiple devices. For users seeking full-network VPN coverage, combining the AC1200 with a primary VPN-enabled router is a practical and efficient solution.
With VPN compatibility and configuration, the Wavlink AC1200 adds another layer of versatility to its suite of advanced features, making it an excellent choice for users who prioritize online privacy and security.
Smart Home Integration with the Wavlink AC1200
The Wavlink AC1200 router serves as a robust hub for smart home ecosystems, supporting seamless connectivity between various smart devices. With its dual-band Wi-Fi, advanced network management features, and reliable performance, it ensures that your smart home operates efficiently and securely.
Role of the Wavlink AC1200 in Smart Home Ecosystems
The AC1200 plays a critical role in connecting and managing your smart home devices by:
- Reliable Connectivity: Dual-band Wi-Fi ensures that devices requiring high bandwidth, like smart cameras and streaming hubs, connect without interference, while less demanding devices, such as smart bulbs, use the 2.4 GHz band.
- Centralized Control: Acting as the network backbone, the router allows you to manage all connected devices through its interface or companion apps.
- Security for IoT Devices: With advanced security features, the AC1200 protects your smart devices from unauthorized access and cyber threats.
Compatible Smart Home Devices and Platforms
The Wavlink AC1200 supports a wide range of smart home devices, making it versatile and adaptable for modern homes.
Examples of Compatible Devices:
- Smart Assistants: Amazon Echo, Google Nest, and similar devices.
- Smart Lighting: Systems like Philips Hue and TP-Link Kasa.
- Security Systems: Smart cameras (e.g., Arlo, Ring) and door locks (e.g., August, Schlage).
- Entertainment: Smart TVs, streaming devices (e.g., Roku, Chromecast), and gaming consoles.
- Appliances: Wi-Fi-enabled thermostats, refrigerators, and washing machines.
Supported Platforms:
- Works seamlessly with popular platforms like Alexa, Google Home, and Apple HomeKit.
Tips for Seamless Integration and Troubleshooting
To ensure a smooth smart home setup with the Wavlink AC1200, follow these tips:
- Optimize Network Placement:
- Place the router centrally to ensure strong signal coverage throughout your home. Avoid obstructions such as walls and furniture that can weaken signals.
- Utilize Dual-Band Wi-Fi Effectively:
- Connect high-bandwidth devices like cameras and streaming hubs to the 5 GHz band for faster performance.
- Use the 2.4 GHz band for devices requiring extended range, such as smart plugs and bulbs.
- Assign Static IPs:
- For devices prone to disconnection, assign static IP addresses to ensure stable connections.
- Enable Guest Network for Visitors:
- Prevent visitors from accessing your smart home devices by enabling the guest network for their use.
- Keep Firmware Updated:
- Regularly update the router’s firmware to ensure compatibility with the latest smart devices and maintain security.
- Troubleshooting Common Issues:
- Device Not Connecting: Ensure the device is within range and connected to the correct band.
- Lag or Delays: Prioritize critical smart devices using the Quality of Service (QoS) feature.
- Security Concerns: Regularly change Wi-Fi passwords and enable WPA3 encryption for enhanced protection.
Maximizing the Potential of a Smart Home with the AC1200
With its ability to manage multiple connections, prioritize bandwidth, and secure IoT devices, the Wavlink AC1200 is an ideal choice for building and maintaining a smart home. By understanding its features and following best practices, you can create a reliable and efficient smart home ecosystem tailored to your needs.
Read more: Guide to Verizon Routers: Comparisons, Alternatives, and Upgrades
Conclusion
The Wavlink AC1200 is more than just a router—it’s a gateway to unlocking the full potential of your home network. Its advanced features, such as guest networking, QoS settings, port forwarding, VPN compatibility, and smart home integration, make it a versatile and essential tool for both everyday users and tech enthusiasts.
By enabling a guest network, you can ensure secure access for visitors without compromising your primary network. The QoS settings allow you to prioritize bandwidth, ensuring smooth performance for critical applications like gaming and video calls. Port forwarding expands your network’s functionality, making it easier to access devices and services remotely. VPN compatibility adds an extra layer of security and privacy, catering to users who value anonymity and data protection. Finally, the router’s ability to seamlessly integrate with smart home ecosystems enhances convenience and connectivity in today’s IoT-driven world.
With its blend of user-friendly features and advanced capabilities, the Wavlink AC1200 empowers users to optimize their network, ensuring reliable performance and robust security. Whether you’re managing a smart home, working remotely, or simply enjoying high-speed internet, this router delivers an exceptional experience tailored to modern digital needs.


